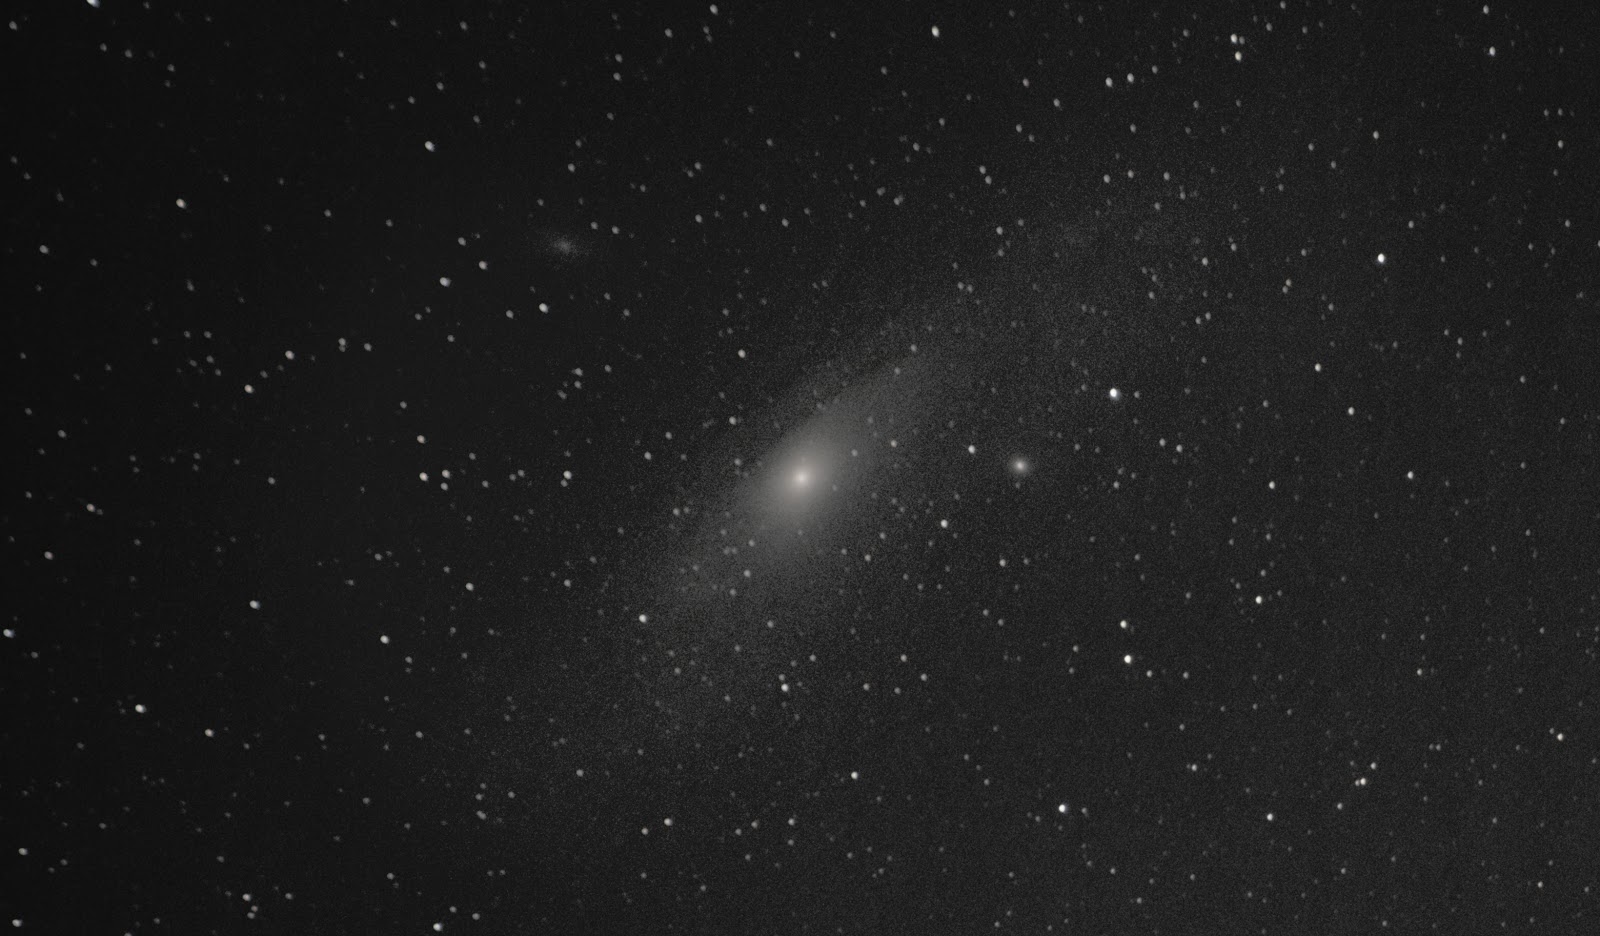
I haven't done a good Andromeda attempt since
'Andromeda Season' kicked off last year in September. At that point, I made incremental baby steps to finally visualize some dark dust trails in the spiral arms of our galactic neighbor. Last year I was reaching the upper limit of what I could do with a fixed tripod - which limits me to 1.3 sec exposures at 300mm.
I got the
Orion EQ-1 mount last Christmas, but I didn't really get to USE it, I did try setting it up once on my balcony but I was nervous about dropping screws through the floorboards.
I was trying to figure out how to slew the camera to the right position in the sky without unhooking and re-attaching the motor. It is delicate and uses a tiny hex screw to attach to the gear wormscrew attachment thinggy. Was I seriously expected to slew to the right spot, and then unhook the manual knob and replace it with the motor out in the field??
I avoided using it until I had my own place to really sit down and figure it out. While I was setting up last night, I noticed the thumb screws on the mount - and I tried loosening them to slew without unhooking the motor. It worked! This might seem obvious, but to a self-taught amateur this was the secret that made the setup a lot more user-friendly... I'm much more likely to use the EQ-1 mount now that I know I can leave the motor attached while I slew to the approximate location.
 |
| Thumbscrew that loosens the ascension axis |
 |
| EQ-1 motor driving the declination axis |
 |
| Thumb screw that loosens the declination axis so you don't have to unhook the motor |
I set up on the front walkway with a kitchen chair. I did a rough polar alignment - I still need to figure out a good way to align correctly with a camera since I don't have a finder scope (and really good alignment was never important before with just observing manually).
After aligning to Polaris, I loosened the thumbscrews and slewed toward Andromeda. I found it easy enough because I've been observing it for a couple years now. I did a test shot of 15 seconds at ISO 1600 and found that not only was I getting some small trails but the light pollution was washing out the photo. I pulled back to 13 seconds and the trails were insignificant. This is a pretty crappy polar alignment but WAY more light gathering potential compared to 1.3 second frames!
I took a quick stack and then noticed clouds getting in the way. I waited a little bit and then played with ISO 800 for 13 sec to see what that would look like. I took some dark and bias frames and stacked in Deep Sky Stacker this morning.
 |
| Canon T5i on EQ-1 mount, 9 subs at ISO 1600, 14 subs at ISO 800, all 13 sec, f/5.6, 300mm, 21 dark frames, 21 bias frames |
 |
| Incremental improvement in the past year, particularly the longer exposure time reduces the grain... e.g. more 'real photo' and less computer manipulation of noise to extract the signal |


Absolutely incredible !!
ReplyDeleteThanks for sharing !!!!!!!!!!!!!!!!!