I recognize that this is extremely nerdy and not entirely astronomy related (although not NOT astronomy related) but I haven't seen a high quality version of this anywhere online so I decided to make one myself and post it in case anyone else is looking for it. If you read Marvel comics, this is the concentric circle logo for the Kree Skrull Alliance, basically the emblem for Emperor Hulkling's reign as Dorrek VIII, King of Space.
Click for full size version
And then here's one with a transparent background:
Click for full size version
I'm not sure if Blogger is compressing the colors or something because they look a little bit off but close enough. I got the color straight from the swatches in the design.
According to the original design by Valerio Schiti, inker on the Empyre books, the logo is a planet with two orbiting rings around it as viewed from above to represent "2 people 1 goal".
Well anyway, I hope I saved someone out there a few minutes of searching to have these more readily available online. Enjoy!
Here is a slightly different color and size that I saw in S.W.O.R.D. #7 (a great Hulkling issue, no spoilers).
I have a love/hate relationship with local news outlets capitalizing on astronomical events. Do I want the public to be interested in what's happening in the night sky above them? Absolutely! But I feel like hijacking this fascination with downright misleading headlines and articles is not only dishonest, but actually makes the real thing seem more commonplace.
Check out these tweets:
"How to see it"? Simple, just move to Colorado
Yes "mark your calendar" for 7:00am but the moon sets at 6:26am
Most articles I've seen are at least helpful in linking to the end-all-be-all eclipse resource timeanddate.com, which has interactive maps and guides for not just the May 26 eclipse, but all future eclipses.
The landing page for the May 26 eclipse that has an interactive map where you can search for what to expect in different cities. The helpful icon shows the maximum eclipse visible before the moon sets, and lists times for each phase (and whether the moon is below the horizon).
Basically this post is a big fan plug for timeanddate.com, it's seriously awesome!
You can also preview the eclipse in different night sky apps, like Stellarium (which is totally free). In this image I was able to generate a simulation of what the eclipse would look like from my exact location in Noblesville. This is what the lunar eclipse will look like in Noblesville on May 26, 2021 at 6:00am:
So if you are really excited about a partial lunar eclipse low to the horizon on May 26 in Indiana, great! But if you were expecting to gaze up at a blood red moon overhead, now you can sleep in.
Learn something new everyday! I was just scrolling on Twitter when I saw my astronomy crush Will Gater tweet about using the raw black and white images from the Perseverance Rover on Mars to create colored images. Here's how to do it yourself, and a little about how it works.
My color processed image from Mars!
Any 24-bit color image is really made up of 3 individual 8-bit images - one for red, one for green, and one for blue (Wikipedia). These are referred to as RGB channel data. But how can a black and white image represent a color? The black and white images show how prominent the color is - the white represents the color and the black represents the absence of the color. So the brighter the image, the more of that color is present.
All you have to do to get a color photo out of the individual 8-bit images is the combine them. All the information is already right there, you just have to tell the computer which black and white image represents which color channel.
Alright so the first thing you need is raw RGB channel images from Mars. Luckily NASA has tons of free images that you can use. After all, your taxes paid to get this rover to Mars in the first place. Here's a link to the page where you can download raw images: https://mars.nasa.gov/mars2020/multimedia/raw-images/
I just looked for 3 of the same image in the gallery assuming the 3 nearly identical images go together to create one color photo. The next bit took me a second, which one is which color? It's a safe bet that if you have a photo of the red soil that red should be the brightest image. I played around with it for a bit and then realized the photos are actually labeled in the file name. Here are the 3 raw images I used to make my photo: Red, Green, Blue
Next, assign the images to the RGB channel layers in Photoshop. This is actually really easy. I watched this helpful video, but I think I can just show you in screen shots.
First open all 3 images. Start with the red image (says NLR in file name) and then go to the Channel tab in the bottom right. All 3 channels are the same because this is a black and white image. All you have to do is copy the green image and paste it into the green tab, copy the blue image and paste it into the blue tab, and that's it!
Click the Channel tab then click on a layer to paste the image for that color. If you started with the red image, you only have to paste blue and green to complete it
You will see the color change after each layer you add, and the final image is all 3 channels combined
I didn't do much post processing at all, just adjusted the white balance to the body of the rover ever so slightly. How cool is this! This color photo hasn't even been released to the public yet but I created it myself from the raw images.
I didn't have high hopes to get a glimpse of the great conjunction of Saturn and Jupiter this month. I've gotten my hopes up too many times and gotten burned by Indiana weather in December. Like my husband says, better to be pessimistic and pleasantly surprised if it works out. When I saw the clouds clearing up a bit this evening around sunset, I dusted off my camera and tripod.
The conjunction wasn't visible at first, so I used a great iPhone app one-two punch to find what I was looking for. First I opened Star Walk and found Saturn, then clicked for more information to get the exact altitude (degrees above the horizon) and azimuth (horizontal degrees clockwise from true north). So this gave me the numbers for where Saturn should appear.
Next, I use one of my absolute favorite apps called Theodolite that uses the camera with on-screen display that shows altitude, azimuth, lets you take screen shots, and a whole bunch of other things. It feels like a professional grade surveyor app. So knowing Saturn should be about 15° above the horizon and 222° SW it was a snap finding where I should be pointing to make sure I had a clear view over the tree line.
Once the sky got a little darker it was obvious because Jupiter and Saturn are so bright, but I think the planning helped me decide if I should even bother setting up in the backyard or if my view would be completely blocked.
I was pleased I could get some trees in the foreground rather than just the conjunction against a wash background. Here's what I got...
Jupiter and Saturn taken with DSLR on fixed tripod, 300mm, f/5.6, ISO 800, 0.3 sec
Same photo as above with labels added
Screen shot of Theodolite app tagging the Alt/Az of the conjunction and timestamp
I learned from the my comet Neowise photo that if I tweet at Sean Ash he'll sometimes feature astronomical photos on the WHTR Indianapolis channel 13 evening news, and sure enough he asked if he could feature the photo that same night. I'm famous!
Visible to the naked eye this morning. Comet c/2020 F3 NEOWISE at 5:01 a.m. facing NE in Noblesville, Indiana. Shot with DSLR on tripod.
Canon T5i, ISO 3200, 75mm, f/4, 4s
I set an alarm for 4:30 a.m. but I was up at 4:15 because I was too excited. I made some coffee and doused myself in bug spray, ready to head out to a spot I scouted the evening before with Chris. I used an app called Theodolite to scout my location because it accurately measures through my iPhone the direction and elevation of the crosshairs in my camera viewfinder so I can tell if I have a clear view of the NE sky at 10 degrees above the horizon.
I didn't even have time to drink my coffee. I figured I'd be waiting around for the comet to rise above the building across the street, but I guess I under estimated how high it would be by 5am. When I got to the sidewalk, I quickly got my bearings spotting Venus and Aldebaran in close conjunction and looked to the left.
Dawn was quickly approaching, and I just used the spray and pray method, using all different combinations of duration and ISO so that I wouldn't come home with a bunch of streaky blurry or extremely noisy shots. I didn't do anything fancy, these are just single exposures and I turned the yellow tint down ever so slightly because I was surrounded by street lights.
I got this question from a reader and I thought I'd post it here as well in case it is helpful to anyone else:
I recently bought a Meade 285 at a Thrift Shop. It is missing the eyepiece. Could you provide me any specifications (i.e. diameters) or supply sources for replacement parts? I stumbled across your blog with searching. Thanks for any info you can provide.
Here is my response and photos to help with the description:
If you have the angled mirror pieces and everything and you just need the eyepiece itself, you can buy a wide variety that will work. You can buy any of the 1.25" barrel eyepieces, this is the most common type as well.
The physical diameter of the bottom of the chrome collar is 1.50" but the eyepiece barrel itself is 1.25". I've attached photos showing the eyepiece dimensions for the ones that came with my telescope, they are the Meade MH9mm and Meade MA25mm.
The 9mm gets more magnification but is kinda cheap, and the 25mm is a great medium magnification that shows detail but still wide enough field of view that you can find your targets faster (locating it with wider view and then changing the eyepiece for a closer view). Like I said the 9mm that came with it was basically cheap plastic so I bought a Orion 8920 6mm Expanse Telescope Eyepiece (http://amzn.to/2Ea7QTX) that I really like.
The weather is not looking great for the "total super blue blood moon" lunar eclipse tomorrow morning in Indiana, but would it be visible under nicer conditions? TimeandDate.com provides eclipse calculations by location, so just type in your zip code and see what the eclipse will look like at different times.
We’d hit 50% magnitude when the moon is about 6° above the horizon (similar to this photo from the April 4, 2015 lunar eclipse in Indiana), so you’d have to have a completely unobstructed view to the West to see it reach total redness as it slips under the horizon (washed out by the lighter sky as the sun rises on the opposite horizon). For reference, 3 fingers held at arms length is about 5° of elevation.
I tried to catch the Orionid Meteor Shower last night, and while I saw about 3-4 with my own eyes, I didn't catch any in the camera. That's okay though! Because one of the best consolation prizes from a meteor hunt is the star trail photos you can make from stacking all your pics together. I took 400 individual photos, each 15 seconds long, between 9:45pm and 11:35pm last night. If you live in the Midwest like me, or anywhere near civilization really, you're bound to have an airplane muck up your star trails. While this isn't necessarily bad, sometimes it's interesting to see just how busy the sky is at night, it can distract from the beautiful swirl of the stars as the Earth turns.
Star trails before and after with some easy touch-ups
If you don't already know how to do star trails, check out the free software called StarStaX. In short, you can stack of bunch of individual photos to create star trails without doing one big long exposure, which is the traditional route. If you're a star trail purist, your 2 hour long exposure could be ruined by someone bumping the tripod or a car passing by with bright headlights. With star trail stacking, you can throw out or edit a frame here and there and it doesn't ruin the entire batch.
The way stacking works is the software keeps the brightest pixel from each image. It's the same as the Lighten blend option in Photoshop. So anything dark will be replaced with something lighter, and things that are bright stick around. If the stars are the brightest pixels in their pathway, their light is kept. If something is brighter like a plane or clouds, those pixels are kept instead.
We can take advantage of this to edit out the planes and other junk in the photos because making things dark is the same as erasing them, and we don't have to worry about filling the empty space because there are plenty of brighter pixels in the other photos that will take its place.
Here's an example of a frame I edited. I want to keep the stars, but someone turned on the porch light which made the side of the house bright yellow. I did a very rough selection in Photoshop and made this area darker, knowing it would be replaced by the lighter section of the house in the other images.
Here's another individual image. I remove 2 light trails from planes in this image by just coloring black over them. Since the ambient sky background in other images is lighter than the black, I know that the lighter pixels will be kept and these black pixels will be thrown out anyway - so it's the same as erasing them. I don't even have to have sharp edges or straight lines, the stacking averages out everything around it and you won't see the erase marks at all.
Here is the final image without planes. 400 images stacked, each 15 sec, ISO 800, f/4.0, 18mm. The image looks too yellow because of the light pollution in the area and in the neighborhood, so there's just a couple tweaks left to make in Photoshop.
Here's my final product. Color balance and contrast is like cooking with spices, everyone will have their own taste. I like to go a little blue/purple to get rid of the gross yellow light - but not so purple that it looks like a disco blacklight party. I turned up the contrast a little bit to hide the yellow clouds that kinda smeared across the image, but again not too much because I don't want it to look completely fake. These 2 hour star trails are nice and long, and without the distracting planes, it looks much more peaceful.
Well this really wasn't meant to be a tutorial, but I just wanted to document my process a little. Another star trail consolation prize to add to my collection, and a little bit of post processing work took it from neat to pretty cool.
I know you're not supposed to look directly at the sun even through clouds, but it's so tempting when you step outside and see this eerie red sun glowing to the West through a layer of uniform clouds - especially when you've been seeing tweets all day about the huge active region (sun spots) on the face of the sun right now. What an easy opportunity to try to capture some sunspots and this weird red sun in a flat background of gray. I tried looking at it first with a pair of eclipse glasses, and couldn't see anything at all, so then I took a few sideways glances and set up my camera.
Single frame Canon T5i 300mm, ISO 100, f/8, 1/500 sec very minor contrast tweak in iPhoto otherwise straight from the camera. Active regions visible in the middle (sunspots).
Chris and Zack said they could see the sunspots with the naked eye. Eeeeeeh! I wasn't going to stare at it long enough to try to see them, but I could clearly see them through my eyepiece on the camera.
My photo vs. NASA SOHO to show the labeled active regions. I played with curves and sharpness to try to bring them out a little bit more. Had to remind myself it's through clouds so it's not going to be super sharp, but WOW look at the size of those things!
I tried to get some context photos, and I've found that the DirectTV dish on the roof makes a convenient foreground target, and it's vaguely space-ey so I guess it works haha.
If you look closely you can see the sunspots even in this wider shot. Single frame with Canon T5i at 75mm, ISO 100, f/8, 1/500 sec
And yet another context shot, with my iPhone before I ran inside to get my tripod. I think this weird red sun through clouds beats out my eerie yellow sun from a few years ago. What do you think?
iPhone photo wide angle showing the sun in the sky with the solid gray clouds
I guess I had HDR turned on because the roofline has a glow around it, but this wasn't meant to be a cool iPhone photo of the sun just an example of the setting with the weird gray sky and red sun high in the sky. It's like the color of a sunset but much higher away from the horizon. The iPhone photo makes it look a little darker than it really was because I was trying to properly expose the sun.
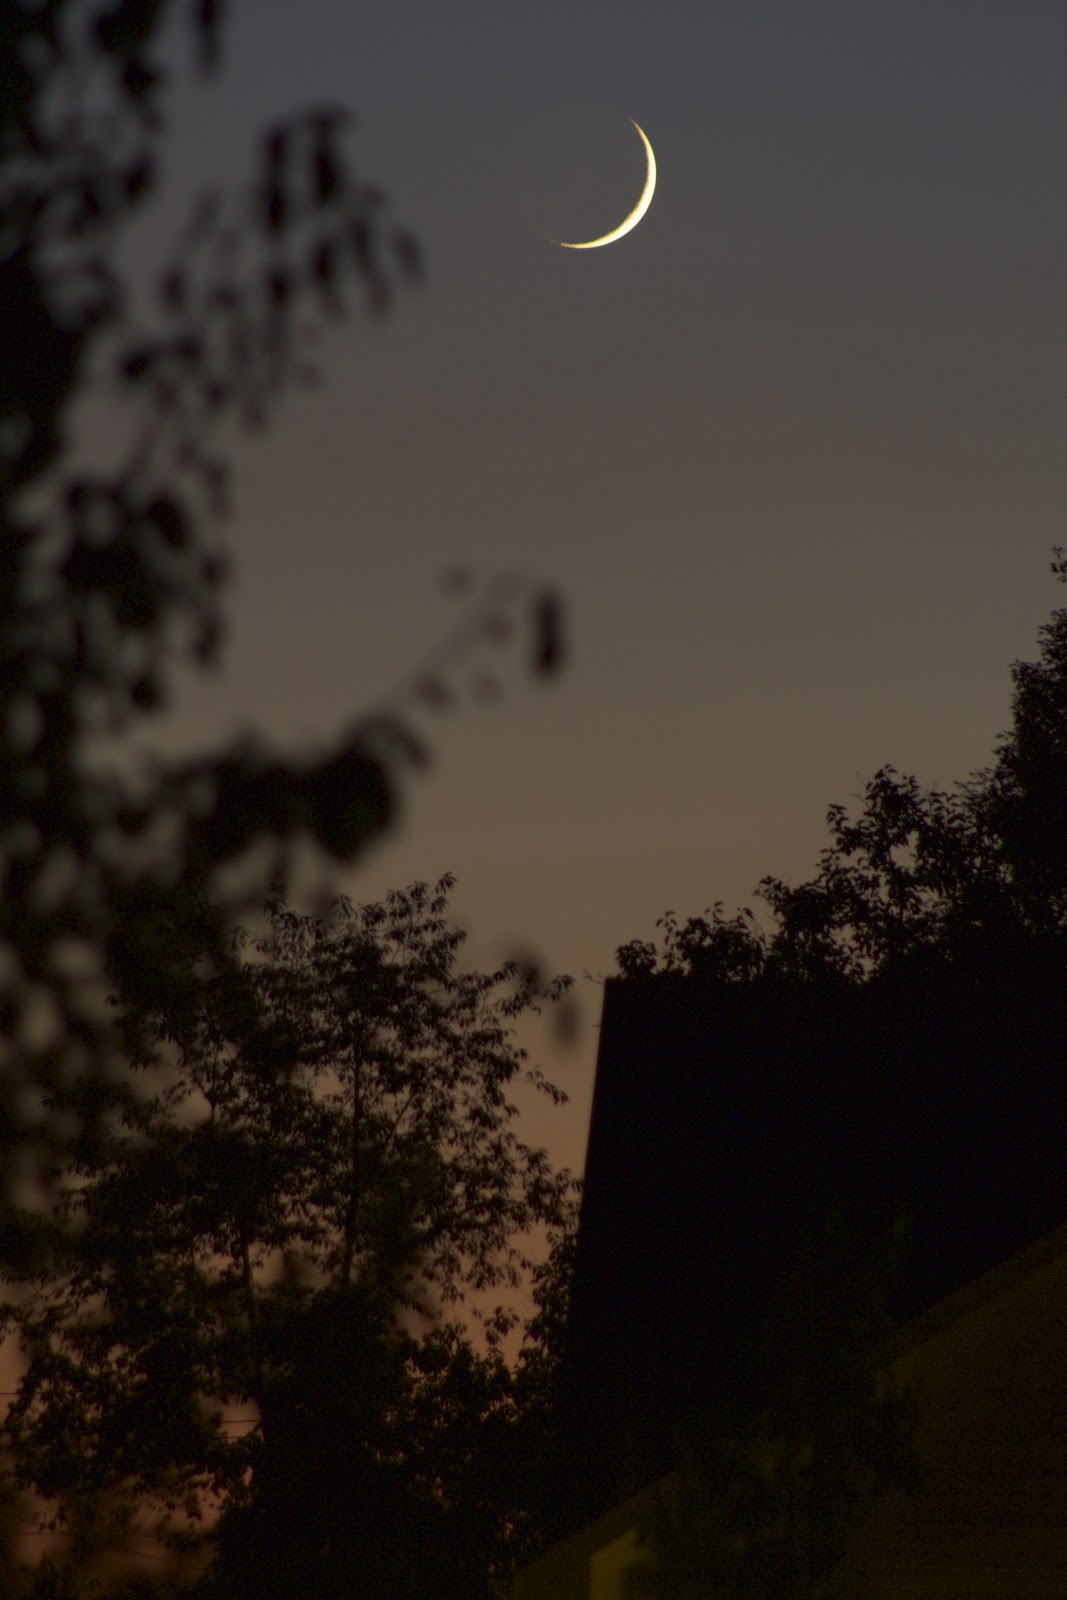
When Karin and I left Indianapolis for our solar eclipse excursion we saw the slim crescent moon just before sunrise. It was cool because it was like seeing the moon on its journey toward the sun. Now tonight I looked outside and saw the waxing crescent moon at sunset - the first crescent after the eclipse.
Waxing crescent moon, single frame Canon T5i, ISO 100, 120mm, f/4.5, 1/3 sec
I was supervising the dogs outside so they don't eat mushrooms growing in the mulch, and I noticed the golden crescent sliding between the houses to the West. I literally ran through my house grabbing my camera, tripod, and shutter release so I could go outside and take some quick photos. I felt re-energized. I feel like I haven't been as enthusiastic for take boring old moon photos lately, but this time felt like doing it for the first time.
Waxing crescent moon 6.4%, single frame Canon T5i, ISO 100, 230mm, f/5, 1.3 sec
I'm so glad I've had so many visitors to my blog this past couple months gearing up for the eclipse. I also got a few direct emails asking my opinion of different solar filters and eclipse glasses. It's really nice to hear from people who come check out my site!
I saw the Great American Eclipse on Monday, August 21, 2017 from St. Joseph, Missouri. I saw totality, the total phase of the eclipse, for a fleeting 10 seconds in a lucky break in the clouds during otherwise overcast and even rainy skies. The location experienced 2 minutes and 38 seconds of totality, which I felt and observed in the change in ambient light and glowing orange horizon, but only about 10 seconds standing in awe, eyes to the alien black hole in the sky. I wanted to write this longer post to get my recollection of the event down into text because I think it's the kind of thing I'll want to revisit later.
I love this photo, it really captures the day and the atmosphere at the event
On Monday, August 20 my sister Karin and I set out from Indianapolis, IN at 6:30am ET and although it was early, the time passed quickly on our way to the Gateway Arch in St. Louis. I had never been to St. Louis before, never seen the Arch in person. This was going to be something of a consolation prize because we were already watching the pessimistic weather forecasts coming out of NW Missouri. I kept telling myself, at least I will have done something new and experienced something that would make the trip worthwhile, even if I didn't see ANY of the eclipse.
Had to touch the actual arch to say I did. We didn't go inside because it was a 3 hour wait to the top.
The arch was very cool, felt like a mix between the Washington Monument and an alien spaceship
We continued on to Kansas City, the location of our hotel. I chose a hotel by the Kansas City airport inside the path of totality, thinking that even if traffic was so apocalyptic that we literally don't make it out of the parking lot, we would still experience totality. We got to the hotel and saw license plates from Minnesota to Washington to Texas, and saw a couple guys testing out solar filters on DSLR cameras in the parking lot on our way to dinner in Kansas (checking another state off the list).
Not the mad rush I was expecting in the hotel parking lot at 5:30am, traffic was a breeze actually. We parked facing out right by the exit as to make a quick get-away if needed.
The plan was to wake up at 5am and be on the road to St. Joseph by 5:30am to beat the rush. We woke up to crickets chirping and a clear sky with stars overhead, but no crowds of people. I guess we beat the traffic, and I guess a few people had canceled their hotel rooms (I overhead the employees discussing as we were checking in). Either way, we had clear skies and we were on our way to the event at Rosecrans Memorial Airport.
Just about all roads west of St. Louis included these solar eclipse traffic warnings
We passed flashing LED construction signs every 2 miles or so warning of anticipated traffic delays due to the solar eclipse, one that said "SOLAR ECLIPSE AUG 21 HEADLIGHTS ON," and clever traffic safety signs that read "ECLIPSE YOUR PHONE, JUST DRIVE," all along the path of totality.
Snapchat had fun solar eclipse geo filters all along the path of totality
We got to the airport among the first hundred cars or so parking for the day. A number of campers and media vans were already there from the days before, and we followed a winding dirt road through the restricted part of the airport. The restricted area signs were covered with hand made posterboard signs directing traffic forward. Volunteers in orange shirts were stationed at each fork in the road making sure we didn't end up on a runway. It looked like we actually drove down an out-of-use runway for a portion of the route.
Sunrise at Rosecrans Memorial Airport morning August 21, 2017
We got to the parking field and felt lucky to have an SUV to drive along the grass. Port-o-potties were stationed every 200 feet or so and doubled as parking area signs. We were by P-2 which apparently was hilarious to everyone in line for the toilet because everyone kept making stupid jokes like "P-2, do we have to pick?" and "They should call it a 'U Can' then it could be 'u can pee 2' get it?" (eye roll) all part of the experience!
Hill between the food trucks and parking field
Clouds can't make up their mind, but the sun was a welcome sight
Finally got to put the eclipse glasses to good use on the partial eclipse leading up to totality, before the wave of rain clouds rolled in.
The crowd was an interesting group. I was trying to figure out how to describe them. It was like a combination of people who didn't necessarily seem that into astronomy but were just up for doing stuff, like "might as well" drive down to see the eclipse. There were a fair number of dads in eclipse shirts and strap on sandals, retirees, bucket-listers, families with huge cruising vans and 4 teenagers, and then a few more extreme observers with fancy auto-guided rigs and telescopes set up in the grass. It was like a music fest without the music, or I guess like an astronomy club meeting on steroids.
Row of eclipse tailgaters and some of the nicer telescopes I saw at the event
The guy parked next to us was by himself, his name was either Christo or Christoff and he was originally from South Africa but living in the Netherlands. He said he flew in just for the eclipse and was flying out again the next morning. He said it was a bucket list item, and that he also wanted to see the Northern Lights one day, but that he wasn't necessarily an astronomy buff. He had a great attitude about the possibility of cloudy skies, and he kept saying "thaaats naature I guess" in a South African accent.
Waiting for the sun to poke through the clouds
You can tell by the lens flare that the eclipse hasn't started yet, but I'm testing out my filter and practicing trying to focus
We set up our tailgate in front of the car facing the sunrise to the East NE. Just about everyone set up chairs and tents outside their car like a tailgate, rather than going over to the designated viewing area. This meant that cars were basically trapped in their rows and it would be difficult to leave if anyone wanted to leave. Only 1 or 2 cars ended up leaving down our row before the eclipse, presumably chasing better conditions. Medics and police patrolled up and down the rows in Gator carts and could easily maneuver the tents and tables.
Eclipse tailgate
Sun trying to poke through the clouds
There's still hope! A patch of blue sky!
We ventured over to the food trucks and to take in the crowd, do some people watching, before heading back and setting up the camera in time for the partial phase of the eclipse to begin. It was cloudy right when it started, but the clouds were moving quick and we would see the Pac Man sun through the clouds and got to observe it with our eclipse glasses and I got as many pictures as I could!
Partial phase sequence through the clouds, last photo (12:06pm) exactly 1 hour prior to totality
After getting some photos of the partial eclipse, the clouds really rolled in, and we heard thunder coming from the NW. Great! At this point we start rationalizing our disappointment. "Well, at least we can say we were in the path of totality. At least it should still get dark, so we can experience that." It started raining for real and we got back in the car with everything packed up. Christoff our parking lot neighbor was listening to live coverage on the radio, and I took some photos of the rain 15 minutes before totality to document the lousy weather.
Feeling very distressed a few minutes before totality! Photo from 12:50pm with totality coming up at 1:06pm.
My sister and I agreed that for totality we would stand outside the car even if it was raining so we could really experience it. We'd read about listening for crickets and watching the sky darken even if it's cloudy. It was still sprinkling when we got out of the car and stood under the tailgate. I put my iPhone on a small tripod to film the ambient changes and record our reaction to totality.
The video speaks for itself, but we saw through the clouds not a thumbnail crescent sun, but an eyelash sun, just a thin line of burning white light through the clouds. It was so tantalizing and tempting to look at it without eclipse glasses. We dared a few peeks through the clouds and tried to watch with our glasses on when it got too bright. I didn't dare get my camera out because I didn't want to miss a chance to see something through holes in the clouds. Actually, holes might be a bit generous, it was more like thin spots in the clouds. It was solid overcast.
On our drive out of Missouri we saw these weird clouds. Karin looked them up and they are called mammatus clouds (as in mammary) and they are supposedly pretty rare, and usually associated with extreme weather.
It got dimmer and we looked to the West to see what looked like sunset approaching. The sky on the western horizon was first to turn orange, and then rather quickly the rest of the sky got dark too. Not just a little dark. DARK. Probably exaggerated even more so by the overcast sky. The orange alien glow was on all horizons and the clouds overhead were purple and wispy light blue/green. The darkness itself was bizarre enough to make the trip worthwhile to be on the line of totality, but then in a break in the clouds I saw something. I saw a solid edge and thought that was too clean a line to be from the clouds itself, and an instant later the total eclipse revealed itself. First through a thin wisp of clouds that were moving, and then almost completely revealed (or very very thin clouds).
Compare a few minutes before totality to the darkness of totality, screenshots from the iPhone video above
The total eclipse was light blue through the thin clouds, and white corona clearly visible around a black sphere. It looked like an artist rendering of a black hole with some sense of depth and volume and spitting out etherial white flames. It back lit the clouds around it like a full moon, and stood starring back at us in silence. I thought I had seen it for about 7 seconds, but then watching the video I believe it must have been longer. I found other videos on Instagram tagged at that location and it could have been 10-15 seconds easily.
The first thing I remember when it went back behind the clouds was that it looked different than any photo I had ever seen of it. Because of the clouds, I think it validated for me that this wasn't a false memory, I wasn't just remembering other photos I'd seen and convincing myself I'd seen it, I felt like I had proof in my mind that I had really seen it. Every photo I've seen has the stark white contrast, but this had a blue/green glow from the clouds and the white corona stood out against the clean line of the moon. It felt so unnatural, it looked like an alien spaceship, in my mind it seemed almost egg shaped which is probably my memory already distorting my experience or maybe an artifact of the shape of the hole in the clouds, it's hard to say but I remember thinking that it was "O" shaped and not a sphere for some reason. Maybe just my irrational mind overwhelmed by what I was looking at.
When the lights came back on, we again saw the eyelash thin sun coming out from behind the moon. I decided to get my camera and try to get some photos, sort of regretting not already having my camera on auto pilot snapping photos during totality - but then again it was raining just 10 minutes before. I watched with eclipse glasses a few more minutes, and then managed to snag some photos of the crescent sun appearing through the clouds. It was hard to find good exposure because the thickness of the clouds was constantly changing.
Crescent sun after totality (1:17pm) ISO 100, 300mm, f/7.1, 1/2500
I like these photos because the crescent sun without a solar filter is only something you can get with cloud cover, so this makes it more unique because no one would wish for clouds during the peek of the eclipse, but if you get them it makes some nice variety. So all in all, I think my friends and family were expecting more epic eclipse photos during totality, but I came away with some souvenir shots, a great video memory of totality, and a brief moment of ecstasy after days of anxiety and worry. Now that I've officially witnessed totality, the pressure is off for 2024. It will be easy for 2024 to be the best solar eclipse because the bar is set very low with only seeing 10 seconds of totality, however if I don't see it at all in 2024 I will always have these brief moments from 2017 to remember forever.