 |
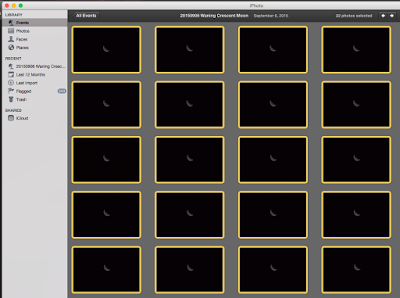
| Let's pick up assuming we already took the photos. Here I have 22 raw files loaded into iPhoto. I highlight the clear photos that look the best, and try to pick a clump that are right next to each other (less time between photos makes it easier to stack them later on). |
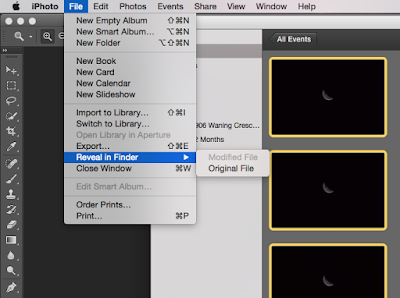 |
| Go to iPhoto > File > Reveal in Finder > Original File. We want to use the RAW files not the JPG files that iPhoto automatically makes to preview. |
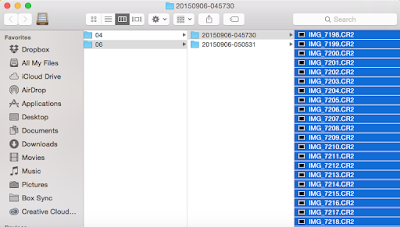 |
| Select the RAW files in Finder and drag them to Photoshop CC. |
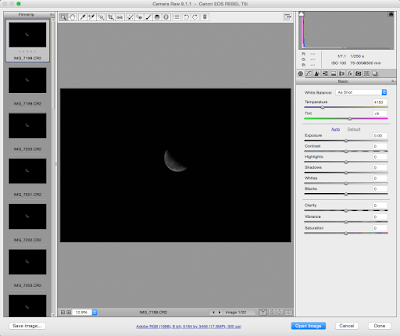 |
| Photoshop CC recognizes the RAW files and opens them in Camera RAW rather than the regular Photoshop window. |
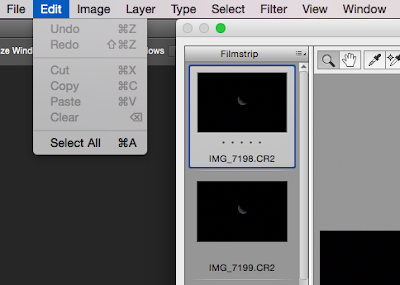 |
| Select all of the images in the left hand column. We want to apply any changes we make to all of them not just the first one. |
 |
| We are going to apply a crop just to cut down on the file size and make it easier to work with in Registax. We're just cutting out a lot of black background. Remember the moon is moving, so it's going to be in a different position in each image. Make sure you leave enough room in the crop for all of the different positions not just the first frame. |
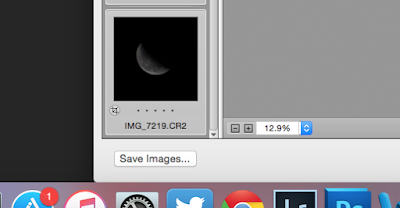 |
| Apply the crop to all and save your images... |
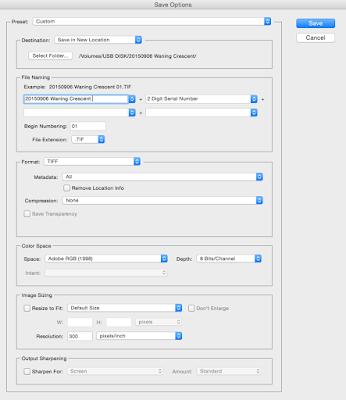 |
| We're saving as TIFF files in a new folder on the flash drive (remember, I'm taking it back and forth between computers). Camera RAW will give the files sequential numbered file names. |
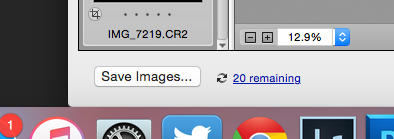 |
| It's applying the crop and saving each cropped file as a TIFF. |
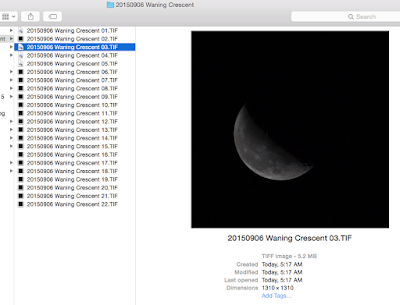 |
| Our new batch of cropped TIFF files are visible in Finder. I'll take these on a flash drive to my PC laptop to stack in Registax. |
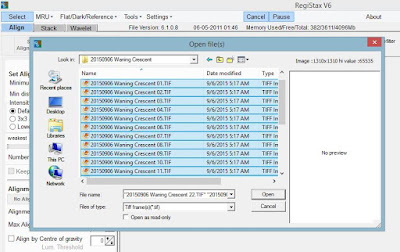 |
| I open Registax and select all my moon TIFF files. |
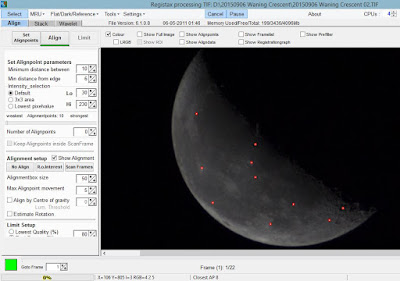 |
| I like to apply my own alignpoints rather than having the software guess. I don't use very many, and I hand pick spots with high contrast, such as craters, bright spots, or areas on the line between dark and light regions. I also stay away from the edges. |
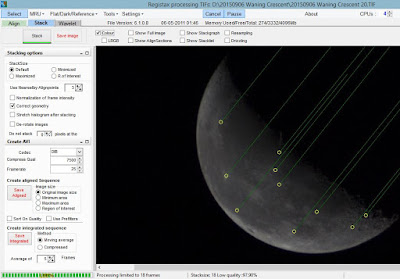 |
| When you align, you are looking for the software to track parallel lines for each of your align points. If the green paths cross, it means something is wrong and it thinks one of your points is going a different direction from frame to frame compared to the others. |
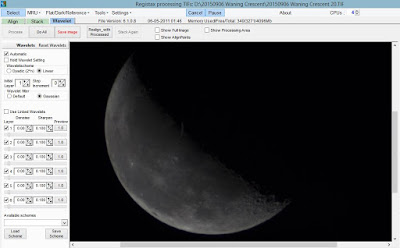 |
| After I stack I go to the Wavelet tab to further refine the image. It's looking pretty good right? Just wait, the Wavelet tab is going to make a huge difference. |
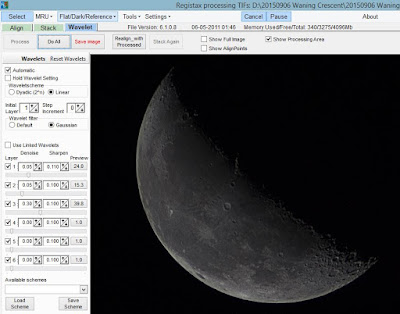 |
| I play with the sliders on the left and watch my image sharpen and also add noise. This is a constant battle between increasing sharpness and increasing noise. You can't just crank it all the way up. Adjust to suit your personal taste. I personally don't like to go overboard, but just enhance the edges a bit. |
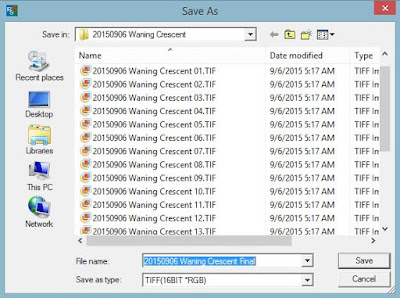 |
| click 'Do All' to apply the Wavelets to the entire image and then save your file. Again, I am saving as a TIFF so I don't lose any clarify to compression. |
At this point I switch back to my Mac, taking my final stacked photo on a flash drive from my laptop.
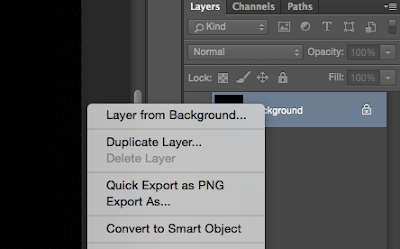 |
| I open my final stacked TIFF in Photoshop and duplicate the background layer into a new layer. |
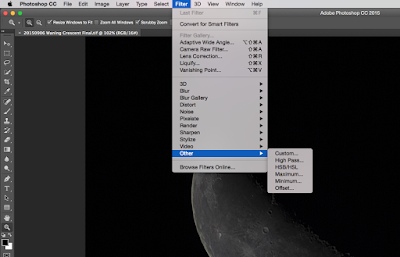 |
| This becomes my High Pass layer. Even if you don't want to spend a lot of time processing each moon image, a High Pass layer is often worth while and doesn't take too long. To make it High Pass just go to Filter > Other > High Pass. |
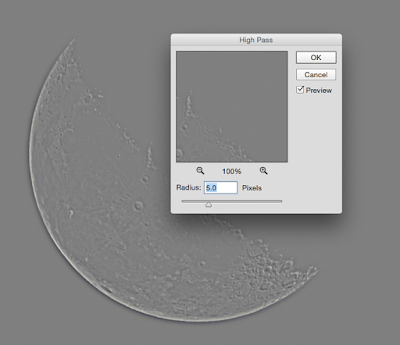 |
| I usually go between 5 and 7 pixel radius for this High Pass filter, but you can play with different amounts. |
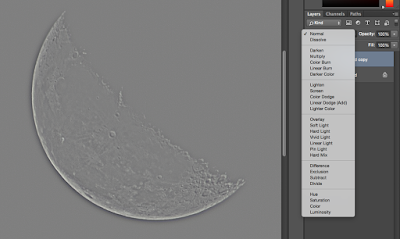 |
| Change the layer to an Overlay layer |
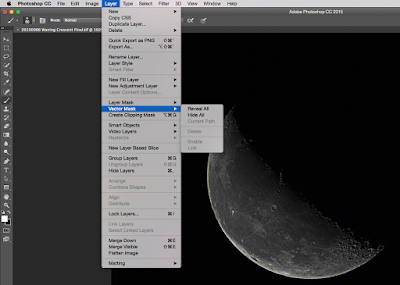 |
| And make the High Pass layer a mask, and select 'Hide All' |
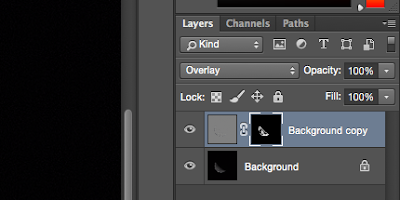 |
| Now using a brush, coloring on the moon will reveal the High Pass layer. I use a wide blurry brush, and turn the flow rate down. See on the layer preview the white part is being cut through the mask. |
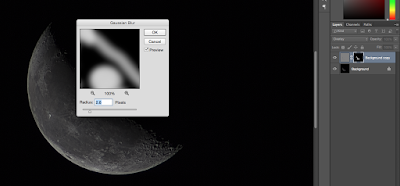 |
| If you didn't blur your brush, go ahead and add a blur filter to your layer. This will help blend the border between where you are using the High Pass layer and where you aren't. I usually stay away from the very edge, and focus on bringing out crater ridges. |
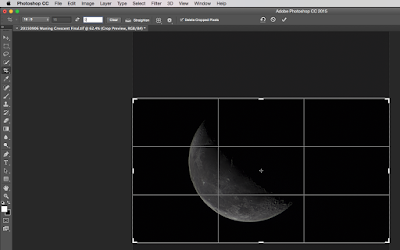 |
| Crop your final image down to however you want it. |
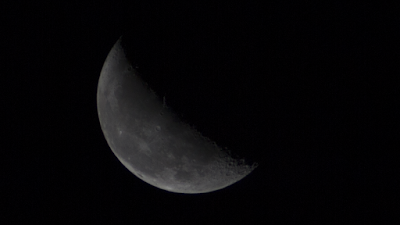 |
| Was it all worth it? Here is a frame straight out of the camera... and then... |
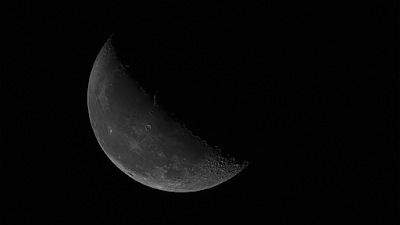 |
| Here is my final version, stacked, and edited with a High Pass layer. 22 frames stacked, each at 300mm, f/7.1, ISO 100, 1/250 sec. I also turned the saturation down because I wanted this one to be black and white. Sometimes a little color on the moon is nice, but again it's a personal preference each time. |


No comments:
Post a Comment